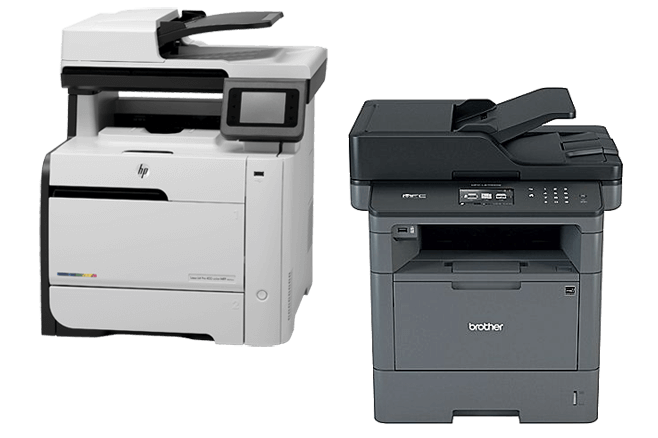
If you can’t or don’t want to use compatible toner and have to buy HP or Brother OEM product, we can sell you that same product at up to 20% lower than the big box stores, call for details.

Why you should call Cartridge on Wheels Reno for your ink and toner…
WE DELIVER SAME DAY TO YOUR DESK for in stock items. You can benefit from our years of experience as well as from the professional and reliable manner on which we conduct business in Northern Nevada. We keep your business operating, worry free, with the Cartridge on Wheels Reno service program for all your printer needs.
We stock popular ink and toner for HP, Brother, Canon, Lexmark and Samsung printers and copiers. Call us in the morning and we should be able to deliver to your business same day or many times within a few hours of your call. For items we do not have on our truck or for printers or copiers that we do not carry in our inventory we can usually still deliver same day or worse case next day.
Our customers are very important to us. We understand that when a business can’t print essentially, they can not conduct business. That is why we offer an exceptional customer service experience. When we get a call for ink, toner or a broken printer, we are usually at that business within two hours. Our prices for compatible ink and toner is going to be significantly less than you will find at the big box office supply stores. Our products are 100% guaranteed and if there is a problem with any of our products, you call us and we show up within two hours and fix or replace the defective product at no cost to you.
Interested? Get in touch with us at (775) 787-9222. We look forward to talking with you.